Your garage door is broken. Here's what a repair actually looks like.
Learn what to expect during garage door repairs and when it's time to call a professional technician. Expert guidance for homeowners.

You pressed the button. Something went wrong. Maybe the door came down four inches and stopped. Maybe it made a bang like a rifle shot and now hangs crooked. Maybe the motor is grinding and nothing is moving at all.
Before you start Googling part numbers, it helps to know two things: what the repair is likely to be, and where the line sits between something you can safely look at yourself and something a technician needs to handle. Most homeowners get this line wrong in one of two directions. They either call a pro for a five-dollar problem, or they grab a wrench for a job that can put them in the emergency room. This article is about drawing that line clearly.
What actually broke, most of the time
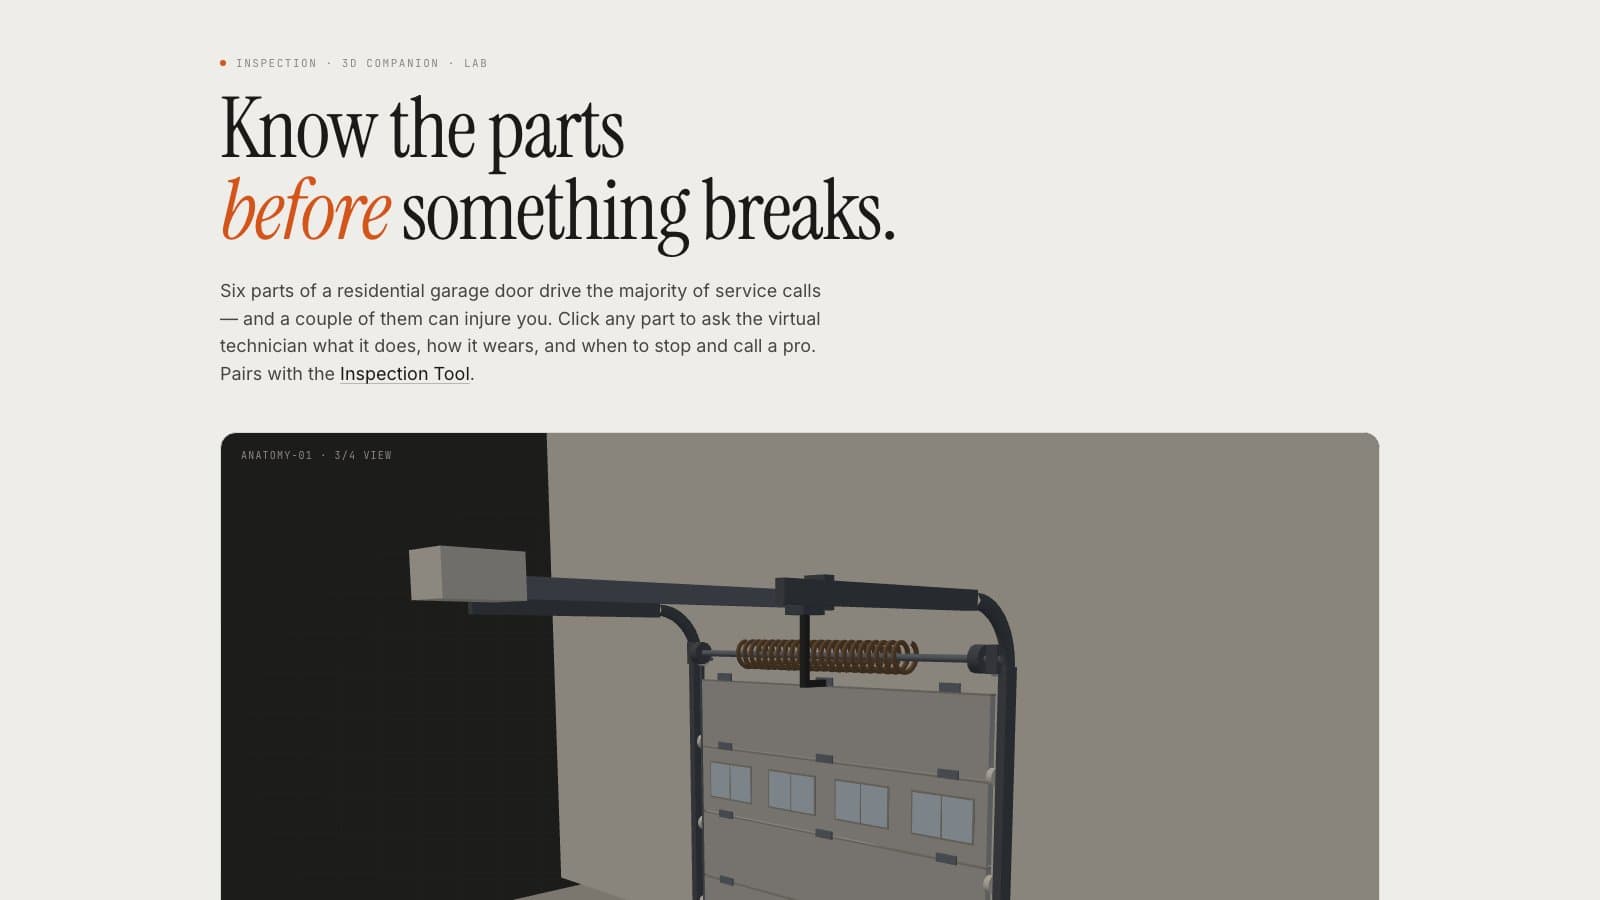
When a technician's phone rings, the failure is almost always one of seven things, in this order: springs, rollers, cables, opener components, hinges and brackets, seals, and photo eyes. Springs are first by a wide margin, and it's not close.
A standard residential torsion spring is rated for about 10,000 cycles. Two openings and closings a day works out to roughly seven years. If your door is somewhere in that window and one morning it feels like it weighs twice what it used to, or you hear a bang from the garage that sounded like a gunshot, that's the spring. Springs also fail more often in winter, because steel contracts at about 6.5 millionths of an inch per inch per degree Fahrenheit, and that contraction concentrates stress at micro-cracks that have been accumulating for years.
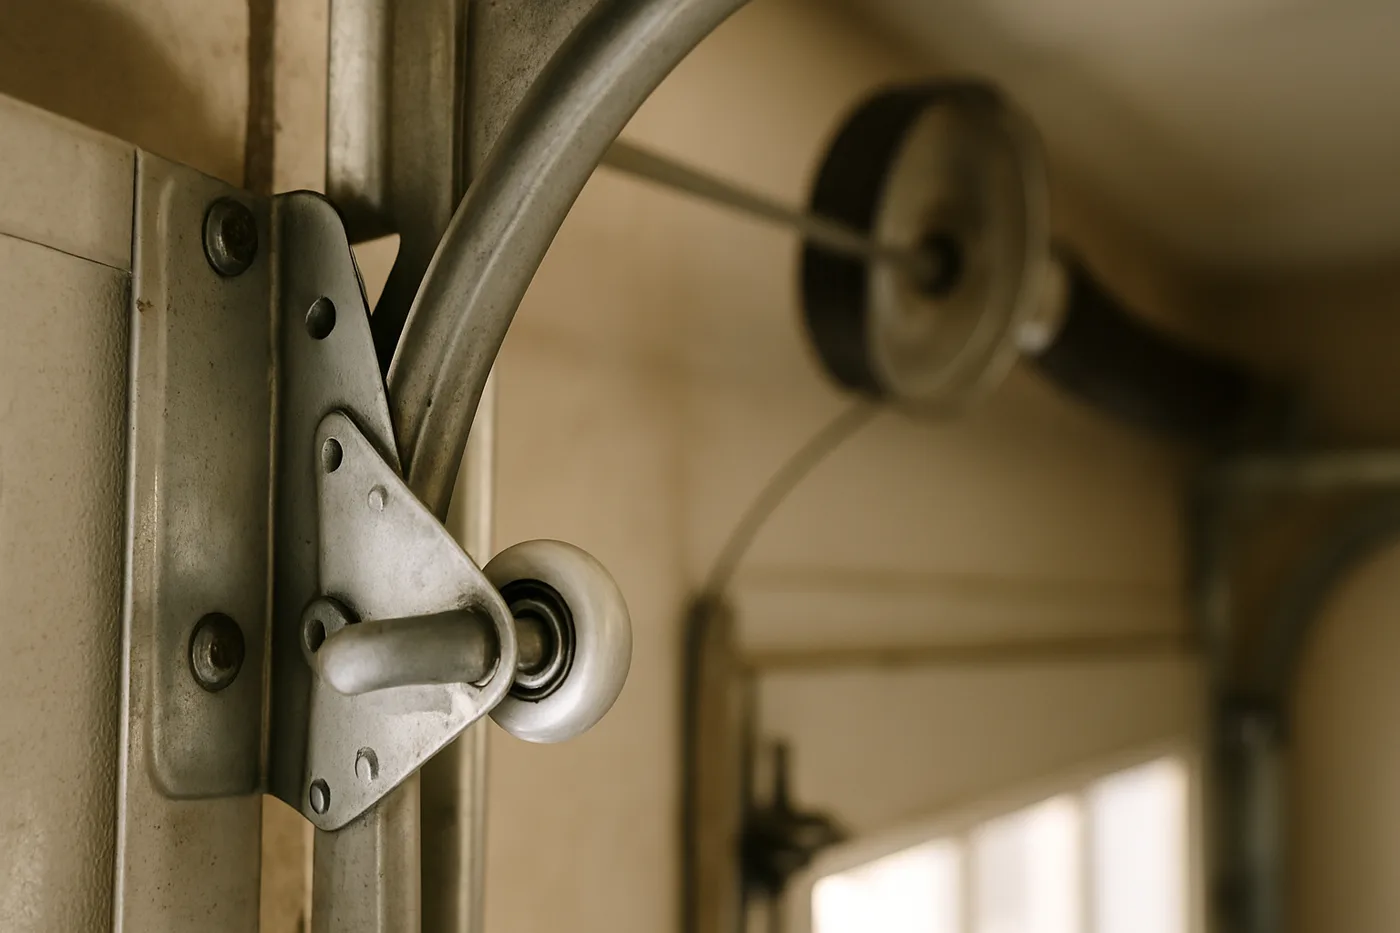
Rollers and hinges wear more quietly. You'll hear it before you see it — a grinding, a squeal, a rhythmic thump as the door travels. Cables fray at the drum end where they take the worst wear. Openers develop stripped nylon gears when the door goes out of balance and the motor is asked to lift more than it was designed to. And photo-eye sensors, the small units mounted near the floor on either side of the door, will refuse to let the door close if they can't see each other — sometimes because of a spider web, sometimes because a bump knocked them out of alignment.
What you can safely check yourself
There is a small, well-defined set of things a homeowner can check before calling anyone. None of them involve tools that store energy.
Start with the photo eyes. They sit within six inches of the floor, per UL 325, because that's the height chosen to catch a small child crawling under a descending door. Both sensors have a small indicator light. If one is dark or blinking, wipe the lenses, then check the alignment by eye — they need to look straight at each other. The infrared beam they use is modulated at about 38 kilohertz at a wavelength of 940 nanometers so the receiver can distinguish it from sunlight, but a low sun angle in the morning or evening can still overwhelm the receiver and cause a false interruption.
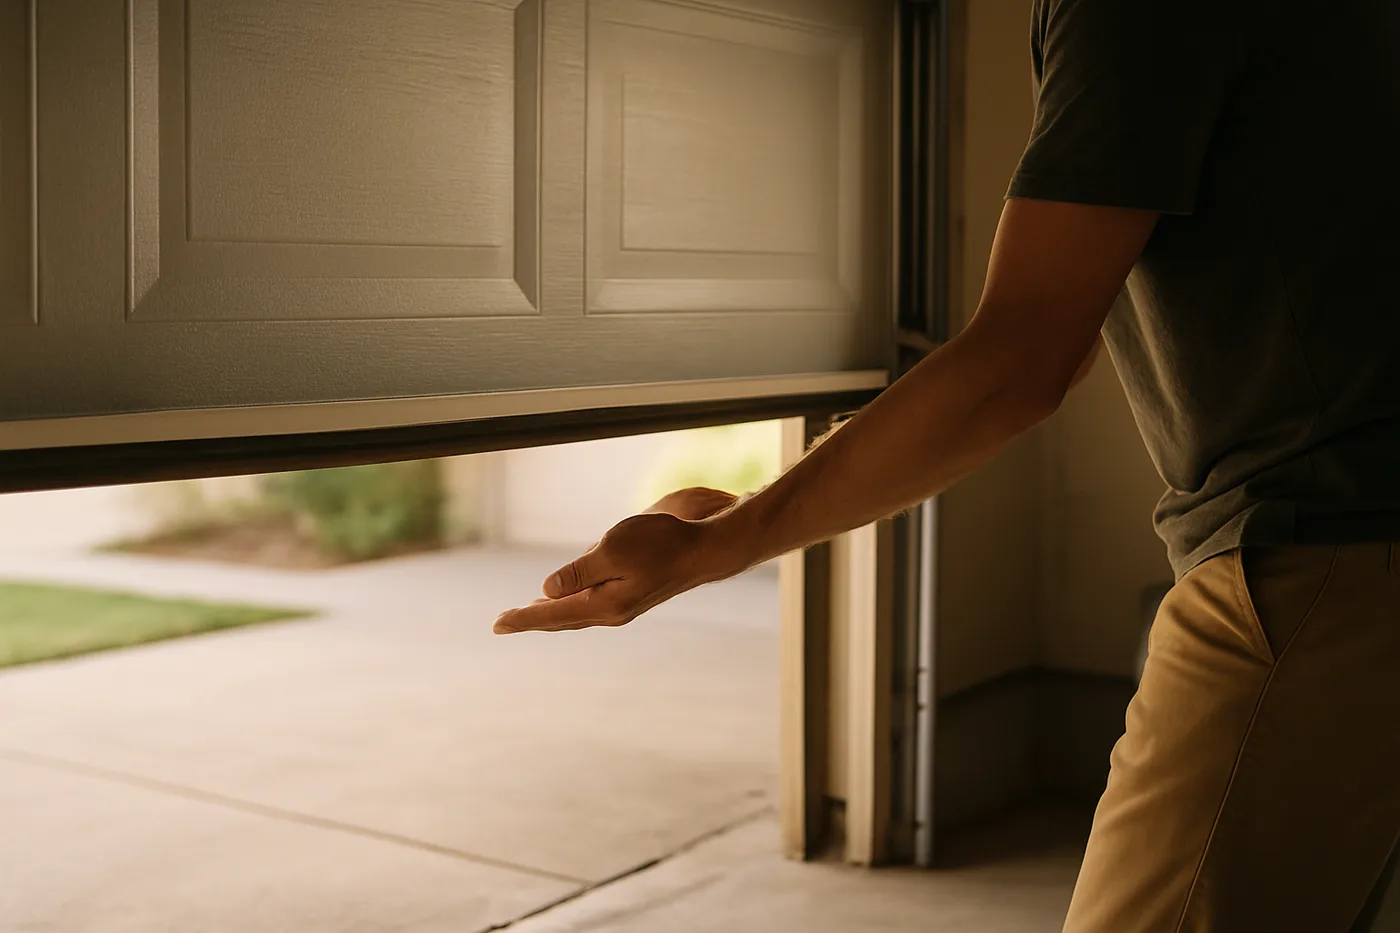
If you need to close the door once, in a pinch, while you sort the sensors out, most openers will let you close by holding down the wall-mounted button through the full travel. This override only works from the wall button — not the remote, not the keypad — and it exists exactly because the override should require someone standing there watching.
You can also look for loose track brackets. Loose brackets are the most common cause of a door going off track, because vibration from hundreds of cycles works the bolts out a quarter turn at a time until a roller hits a transition at the wrong angle. If the visible bolts on your vertical tracks look wallowed out or you can wiggle a bracket by hand, that's a call.
And you can do a yearly visual inspection of the spring itself — not with tools, just eyes. Look for a coil that appears slightly tighter than its neighbors, or a visible gap where a coil has started to separate. Both are fatigue signals. Both mean a technician, not a homeowner.
The line you do not cross
A standard residential torsion spring stores around 236 foot-pounds of energy when fully wound. That is enough to fracture a wrist. It is enough to drive a winding bar through drywall. It is enough to send a person off a ladder.
Do not adjust a torsion spring.
Do not remove a cable from a drum with the spring wound.
Do not loosen a bottom bracket. Those brackets hold the cables that hold the door up, and the door itself weighs between 130 and 350 pounds, with an insulated double-wide sitting in the 200-to-350 range. If you unload the tension wrong, that weight comes down.
This is the whole reason a pro exists for this trade. A technician doing spring work has winding bars sized to the cones, a torque estimate for the door, and the muscle memory of having done it a thousand times. That's what you're paying for.
What a repair costs, roughly
A service call for diagnosis runs $75 to $150 on top of any repair. A broken spring replacement runs $150 to $350 depending on the spring size and the region. So a standard spring failure, done right the first time, is usually somewhere in the $300 to $500 range all in.
The number gets larger when the underlying problem was ignored. An out-of-balance door wears the spring, the opener's nylon gears, and the cables all at once, which is how a $200 spring job escalates to a $600 repair. It gets worse than that at the outer edge: a door that operates two years out of balance can lose a decade of total service life across the entire assembly. That's not a scare number. That's an arithmetic one.
For Las Vegas homeowners, A+ Garage Doors handles same-day spring and cable work, and Garage Door Pro Services offers a free safety inspection that catches the balance and alignment issues that turn small repairs into large ones. Either one is a reasonable starting point if you don't already have a technician you trust.
What the honest repair conversation sounds like
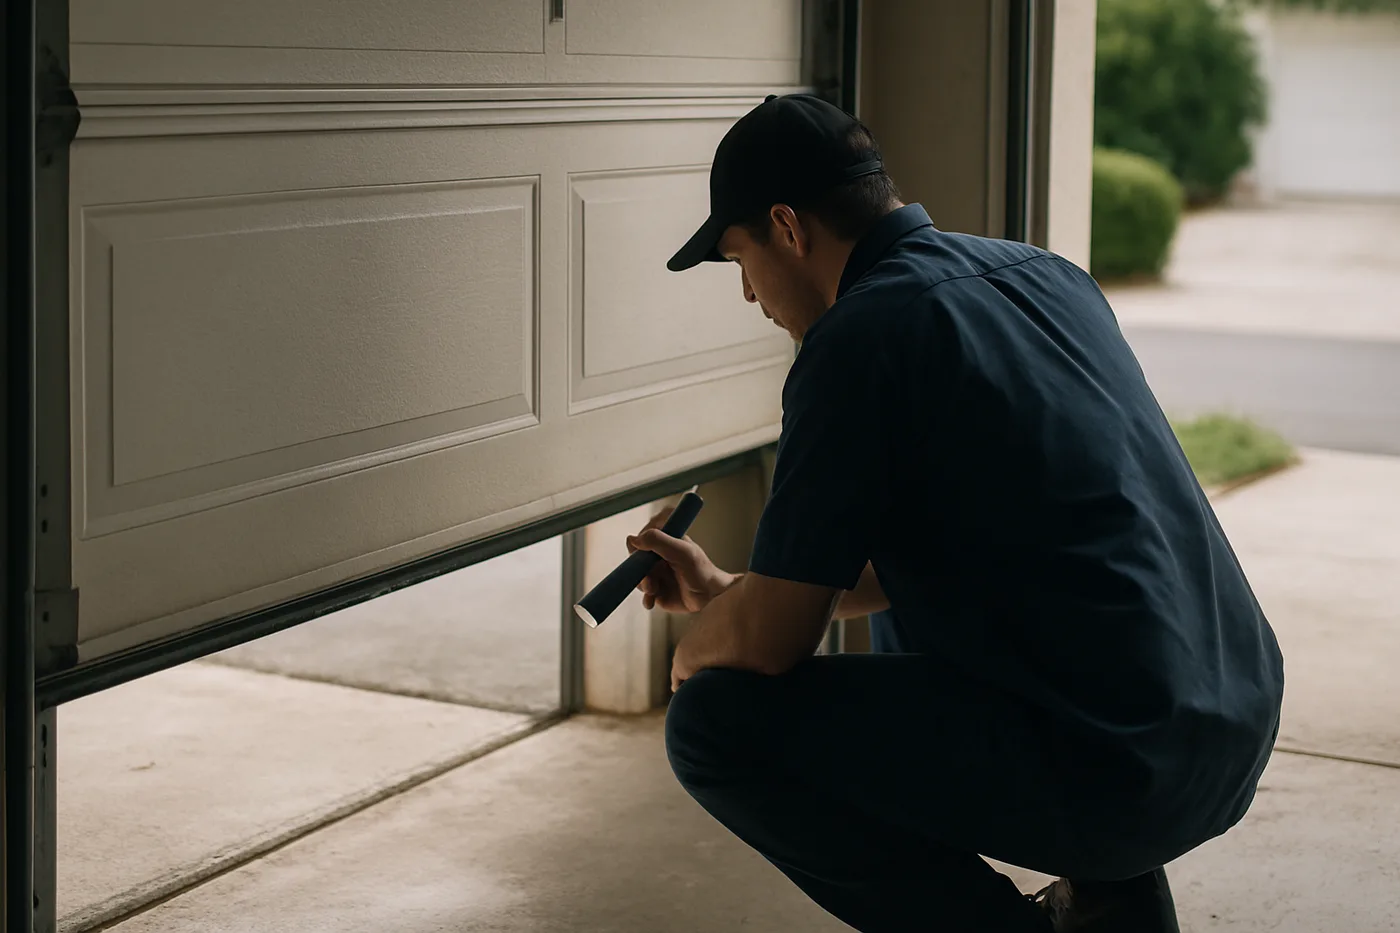
A good technician will tell you three things when they finish diagnosing: what broke, what caused it, and what else on the door is close to failing. That third one saves you money, because a spring that broke at 9,500 cycles is a spring — but a spring that broke at 9,500 cycles alongside cables with visible fraying and rollers that have been dry for two years is a whole conversation.
Ask about the rollers. Ask whether the door is balanced, which the technician can test in about 30 seconds by disconnecting the opener and lifting by hand — a balanced door will hover at waist height. Ask when the springs were last lubricated. Springs need lubrication every six months because they stay under constant tension even when the door isn't moving, and dry springs fail earlier.
And if the technician tells you they used WD-40 anywhere on the door, get a second opinion. WD-40 is a solvent that dissolves existing lubricant and then evaporates, and using it on rollers and hinges is the single biggest cause of premature wear — enough to cut a 15-year roller lifespan down to about seven.
The plan for today
Three things, in order:
- Do the 2x4 auto-reverse test. Lay a flat 2x4 on the floor in the center of the door opening and close the door. If it doesn't reverse within two seconds of touching the board, the opener's force setting is wrong and needs a technician.
- Look at your springs. Not with tools — with your eyes. A gap between coils, or a section that looks tighter than the rest, means you call before it breaks, not after.
- If something is already broken, do not try to muscle the door open or lift it manually with a broken spring. The door is 200 pounds and the cables are not designed to be your handle. Wait for the tech.
A spring replacement before failure is a scheduled expense. A spring replacement after failure, on a frozen Tuesday morning with your car locked inside, is an emergency. The job costs the same either way. The difference is whether you chose the timing.