How to program a garage door opener remote, by brand
Step-by-step instructions for programming remotes on LiftMaster, Chamberlain, Genie, and Ryobi openers. Covers wall button pairing, keypad sync, and universal remote setup.
You bought a new remote. Or you replaced the battery in an old one. Or a contractor left with the only clicker and you've been using the wall button for three weeks. Whatever brought you here, the fix is a ninety-second job — if you know which button to press on which box, and in what order.
That last part is where people get stuck. Not because the process is hard, but because every brand calls the programming button something different, hides it in a different place, and times it differently. So this article is organized by brand. Find yours, do the steps, you're done.
First, find your opener's brand and the Learn button
Pull the cord that drops the emergency release? No. Don't touch that. What you want is the motor unit itself — the rectangular box bolted to the ceiling in the middle of the garage. The brand name is printed on the side or the end cap facing the door. LiftMaster, Chamberlain, Craftsman, Genie, Ryobi, Linear, Marantec. Most American garages have one of the first three.
You also need a stepladder. Programming buttons live on the back or side of the motor housing, under a lens cover or behind a small plastic flap. You're going to press a button, then press a button on the remote, and the two need to happen within a short window. Doing that from a ladder is easier than doing it from a chair with a broomstick.
If you want a visual of where the motor unit sits relative to the rest of the door system before you climb up, the garage door anatomy lab lays out every component and what it does.
LiftMaster and Chamberlain (same parent company, same method)
LiftMaster and Chamberlain openers are made by the same company, and they share the programming process. Their Learn button is a colored square — purple, red, orange, yellow, or green — on the back or side of the motor unit. The color tells you which remotes are compatible, but the programming steps are identical across colors.
Press and release the Learn button. A small LED next to it will light up. Within 30 seconds, press and hold the button on your remote that you want to use for this door. The opener light will flash, or you'll hear a click from the motor. That's the pairing confirming. Release the remote button. Test it.
If you miss the 30-second window, the LED shuts off and nothing happens when you press the remote. No harm done. Press the Learn button again and try once more.
To erase every remote paired to the opener — useful if you bought the house and don't know who else has a working clicker — press and hold the Learn button for about six seconds, until the LED goes out. Every remote is now unpaired. Reprogram the ones you want to keep.
Genie (Intellicode)
Genie uses a system called Intellicode, and the process has one quirk that trips people up: you press the remote button twice, not once.
Find the Learn button on the motor unit, press and hold it until the LED blinks, then press the button on your remote twice. The opener will confirm with a light flash or a click. If you press the remote only once, nothing pairs, and you'll assume the process didn't work. Press twice.
Older Genie units — the pre-Intellicode models with dip-switches — work differently. If you pop open your remote and see a row of tiny switches, you're not programming anything. You're matching. Set the remote's switches to the same pattern as the switches inside the motor unit, and the codes align. These are rare in new installations but still common in garages built before the mid-1990s.
Ryobi
Ryobi's modular openers are the outlier in this group. They pair through the Ryobi GDO app rather than a Learn button on the motor. The physical remotes that come in the box are pre-paired at the factory, so the first time you'll need to program one is when you add a remote, replace a lost one, or sync a universal.
The specific steps live inside the app and vary by model. Open the app, find the device, and look for the accessory or remote menu. If you bought the opener new and kept the box, the manual has the current sequence printed inside. Ryobi updates its firmware often enough that a four-year-old YouTube video is not a reliable source.
Wall-mounted keypads (outside the garage)
The keypad on the wall outside your garage — the one where you punch in a code — pairs the same way the handheld remote does. Press the Learn button on the motor unit. Within 30 seconds on a LiftMaster or Chamberlain, enter your chosen PIN on the keypad and press Enter. On a Genie, enter your PIN and press the program button on the keypad twice.
Pick a PIN you'll remember without making it obvious. Not your house number. Not 1-2-3-4. If you've been using the same code since 2011 and a contractor has had it since 2018, now is a reasonable time to change it.
Universal remotes
If your original remote is discontinued, lost, or you want one clicker that runs two different brands of opener in the same garage, a universal remote is what you want. The Chamberlain KLIK3U and the Genie G3T-R are the two most common. They work across multiple brands by matching either the dip-switch pattern or the rolling-code frequency of the opener.
The pairing process is the same as a brand remote: press the Learn button on the motor unit, then press the button on the universal within the timing window. The universal handles the frequency matching in the background. What it can't handle is a system it doesn't support — so before you buy, check the package against your opener's model year and brand. Most universals list compatibility on the box.
When a working remote suddenly stops
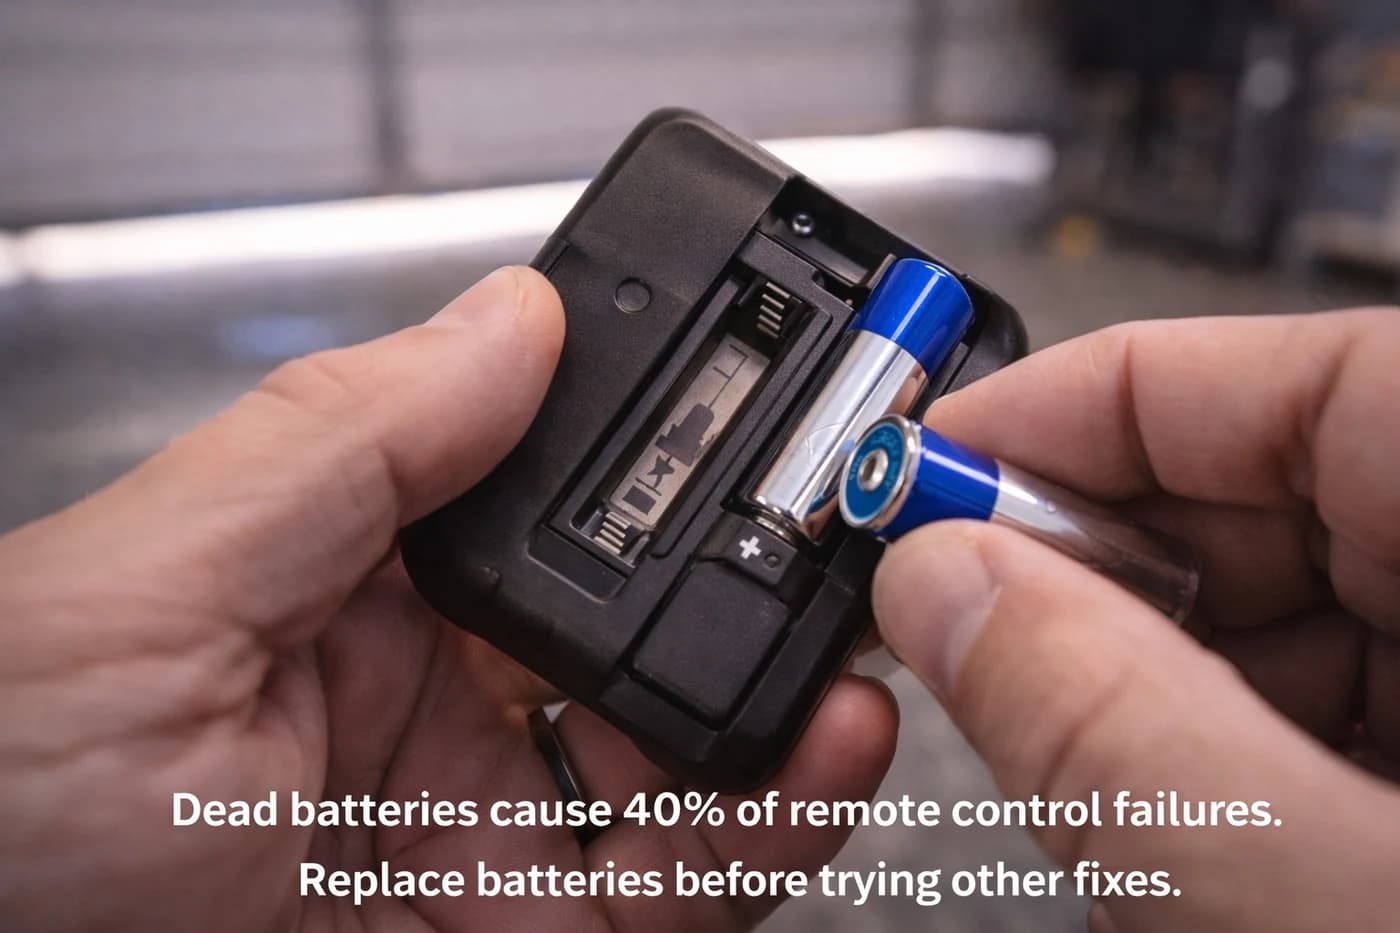
If a remote that was working yesterday doesn't work today, run through this in order. Replace the battery. Most garage door remote batteries are CR2032 or 3V lithium coin cells, and they last about two years. Then test the remote within a few feet of the motor unit to rule out range problems — a dying battery shrinks the effective range before it kills the remote entirely.
If the fresh battery doesn't fix it, reprogram the remote from scratch. Some openers drop the pairing when a remote loses power for an extended period, especially if the battery sat dead over a winter. The remote hardware is fine. The pairing is gone. Run the same Learn-button sequence you'd run for a new remote and it should come back.
If reprogramming doesn't take — the LED times out, no click from the motor, nothing — the issue is more likely the opener's logic board or the antenna wire, not the remote. That's when you stop pressing buttons and call someone.
A remote that won't program after two clean attempts is telling you something about the opener, not the remote. Listen to it. If the opener itself needs service, A+ Garage Doors handles garage door repair in Las Vegas, and Garage Door Pro Services covers the same across Southern Utah.
