Why Won't My Garage Door Close?
A step-by-step diagnostic guide for when your garage door refuses to close — from photo-eye misalignment to broken springs — and when to stop and call a pro.
You're standing in the garage. You pressed the button. The door started to move, then reversed. Or it didn't move at all. Or it came down, touched something invisible, and went back up. You have somewhere to be.
Take a breath. Most of the time, this problem has a simple cause and a five-minute fix. But a few causes are genuinely dangerous, and knowing which is which matters more than getting the door closed fast.
Work through this in order. The most common cause is first.
Check the photo-eye sensors first
Your garage door opener is required by law — UL 325, adopted in 1993 — to have two photo-eye sensors mounted near the floor on either side of the door opening. They send an invisible beam across the path of the door. If anything interrupts that beam, the door will not close.
Look at both sensors. Each one has a small LED indicator light. On most openers, a solid light means the sensor is aligned and the beam is unbroken. A blinking light, or no light at all, means something is wrong.
Common causes:
- Misalignment. One sensor may have been bumped. The sending sensor (usually the one with the amber/yellow light) stays fixed; the receiving sensor (usually the green light) needs to see the beam cleanly. Gently adjust the receiving sensor until its light goes solid. You may need to loosen the wing nut or bracket screw, angle the sensor, and retighten.
- Dirt on the lens. A thin coat of garage dust is enough to scatter the beam. Wipe both lenses with a dry cloth.
- Direct sunlight. In certain seasons, late-afternoon sun hits the receiving sensor at exactly the angle that washes out the beam signal. A cardboard sun shield taped over the sensor solves this permanently.
- A leaf, a cobweb, a tipped-over rake. Check the path between the sensors before you assume the sensors themselves are the problem.
The safety systems lab shows how photo-eyes work — including how the signal degrades with dirt and misalignment — if you want to understand what you just fixed.
Look for an obstruction in the track
With the sensors checked, look at both vertical tracks and the horizontal sections along the ceiling. You're looking for anything that doesn't belong: a bent section of track, a roller that has jumped its path, a piece of debris lodged between the track and the door panel.
If a roller has come out of the track, you can gently guide it back in with the door raised manually — but look carefully at whether the track is bent before you do. A bent track is a symptom, not a cause. Something hit it hard enough to deform steel. Find out what, and fix that too.
Do not force the door if a roller is jammed and won't guide back in cleanly. Forcing it stresses the cables and the spring, and can cause a secondary failure.
If you heard a loud bang before the door stopped working
Stop.
If there was a sharp crack or bang — louder than a door impact, more like a gunshot inside the garage — your torsion spring may have broken.
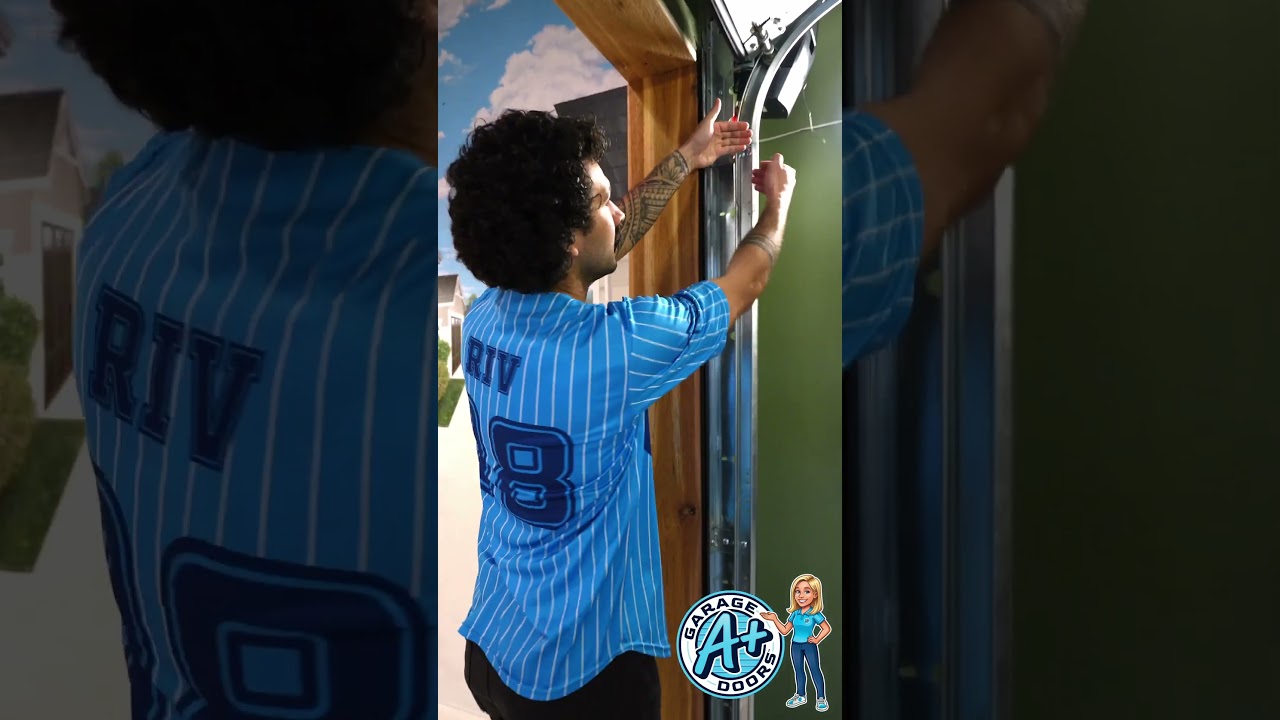
Look up. The torsion spring is the large coiled spring mounted horizontally above the door, along the horizontal beam. If it is broken, you will see a visible gap in the coil, usually near the center or at one end. The two halves of the spring will be visibly separated.
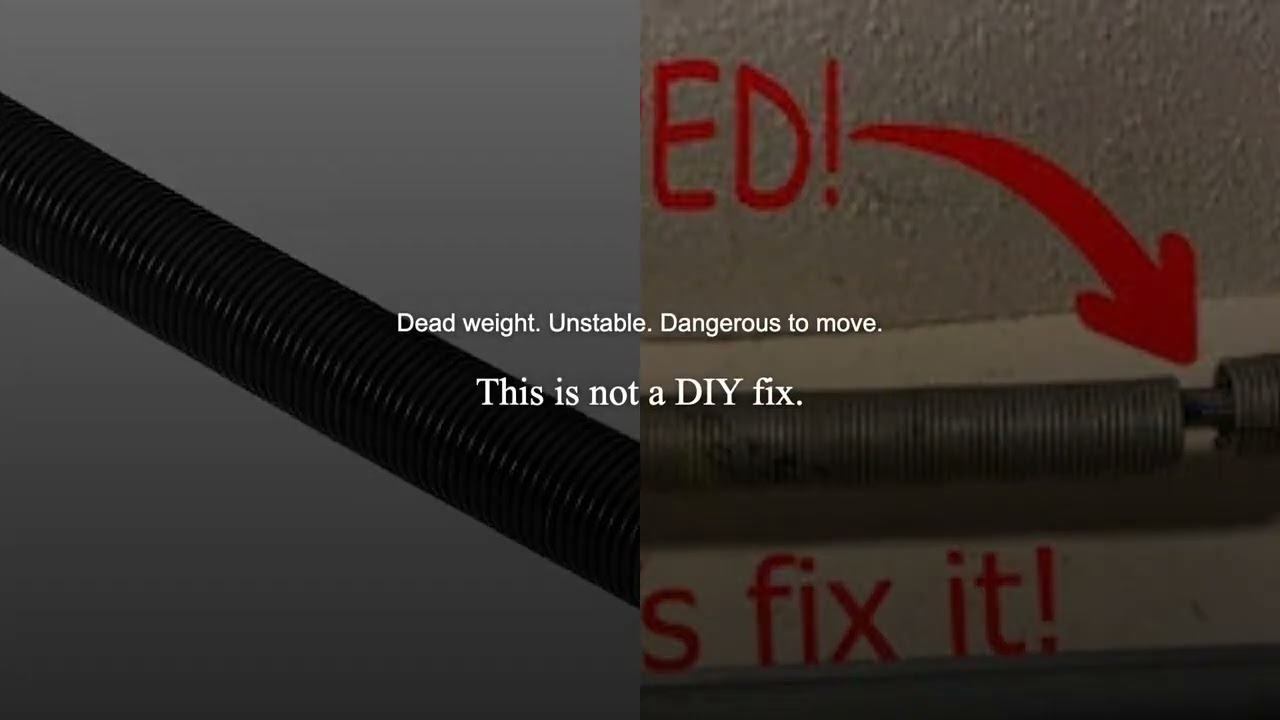
Do not attempt to operate the door. Do not attempt to remove or replace the spring yourself. A torsion spring stores hundreds of foot-pounds of mechanical energy under tension. A broken spring that releases suddenly causes serious injuries — lacerations, fractures, and worse. This is not a project for YouTube tutorials and a weekend afternoon.
Call a licensed garage door technician. This is the line.
The science of garage door springs explains why the energy stored in a torsion spring is so significant — the physics make the danger concrete. And the spring safety video shows what a tech checks before touching a spring.
Check the travel limit and force settings
If the door goes down partway and then reverses without hitting anything, and the sensors are clear, the issue may be the opener's travel limit or force settings.
Every opener has an adjustment — usually two small dials or a digital setting accessed through the opener's app — that tells it how far down to travel before stopping, and how much resistance to tolerate before reversing. If these are miscalibrated, the opener will think the door hit the floor before it did, or will interpret the weight of the door itself as an obstruction.
Consult your opener's manual for how to adjust travel limits. This is an adjustment you can make safely without tools. Make small changes and test each one.
Check the wall button and remote
Before you conclude the opener has a logic problem, rule out the signal path.
Does the wall button work but the remote doesn't? The remote battery may be dead, or the remote may need to be re-paired. Replace the battery first — it takes ninety seconds and is right more often than you'd expect.
Does neither the wall button nor the remote work, but the opener's indicator light is on? The logic board may have lost power to its output circuit. Try unplugging the opener for thirty seconds and plugging it back in. An opener that has had a power surge or brief outage sometimes needs a hard reset to restore normal operation.
Does the opener not respond to anything, including the learn button on the unit itself? The logic board may have failed. At this point you're looking at either a replacement circuit board (roughly $60 to $120 for most brands, if you can source the part) or a new opener.
When to call a pro — clearly stated
Call a pro if:
- You see or suspect a broken torsion or extension spring.
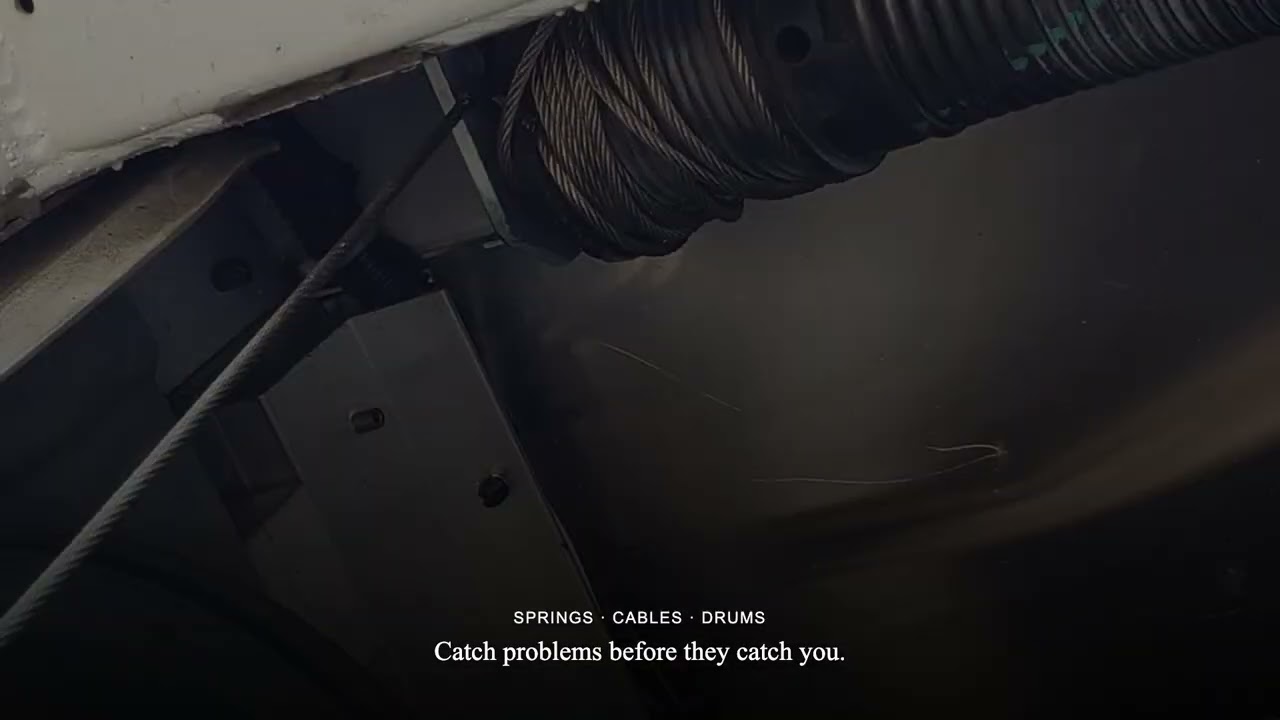
- A cable has come off the drum or is visibly frayed.
- The bottom bracket — the metal fitting at the bottom corner of the door where the cable attaches — is bent, cracked, or has pulled away from the door. The cable tension runs through this bracket. It is under significant load. Leave it alone.
- The door is off its tracks and won't guide back in easily.
- You've worked through every step here and you still don't know what's wrong.
A service call runs $75 to $150 for diagnosis. A spring replacement runs $150 to $300 for most residential doors. That is a far smaller number than an emergency room visit.
What to do right now
The 24-point inspection tool walks through exactly what a technician checks on a door visit — including photo-eye alignment, spring condition, cable wear, and hardware integrity. If your door is closing again, run through the inspection anyway. A door that just failed once on a balky photo-eye may be telling you something about its overall condition. Here's a quick intro to the inspection tool if you want to see what it walks you through first.
If it's not closing and you've ruled out the things you can safely check, A+ Garage Doors provides same-day repair and can diagnose and fix spring, cable, and sensor issues — or start with Garage Door Pros for a free safety inspection to evaluate the full system. You can also use the chat on the home page to describe what you're hearing and seeing, and we'll help you figure out what comes next.