Yearly Garage Door Maintenance: What to Do Yourself and What to Leave Alone
Like a car, a garage door needs an annual check to stay safe and avoid expensive breakdowns. Here's the complete homeowner guide — what you can do, what a pro should handle, and when to call before something fails.
You take your car in for an oil change. You rotate the tires. You get the brakes looked at before a road trip. You do not wait until the engine seizes to decide that maintenance was worth the money.
Your garage door works the same way — and almost nobody treats it that way.
A garage door is a large mechanical system under constant load. Springs under tension. Cables bearing weight. Rollers riding tracks. Hardware tightening and loosening with every temperature swing. A system like this does not fail all at once on a random Tuesday. It degrades slowly, in ways you can see if you know what to look for, until one cold morning in January it simply stops.
The annual check takes about thirty minutes. Some of it you do yourself. Some of it belongs to a pro. Here is how to tell the difference.
What you can safely do yourself — the "oil change" equivalents
These tasks require no special tools, no tension adjustment, and no knowledge that isn't in this article. Do them once a year. Late summer or early fall is the best timing — you want to find problems before cold weather finds them for you.
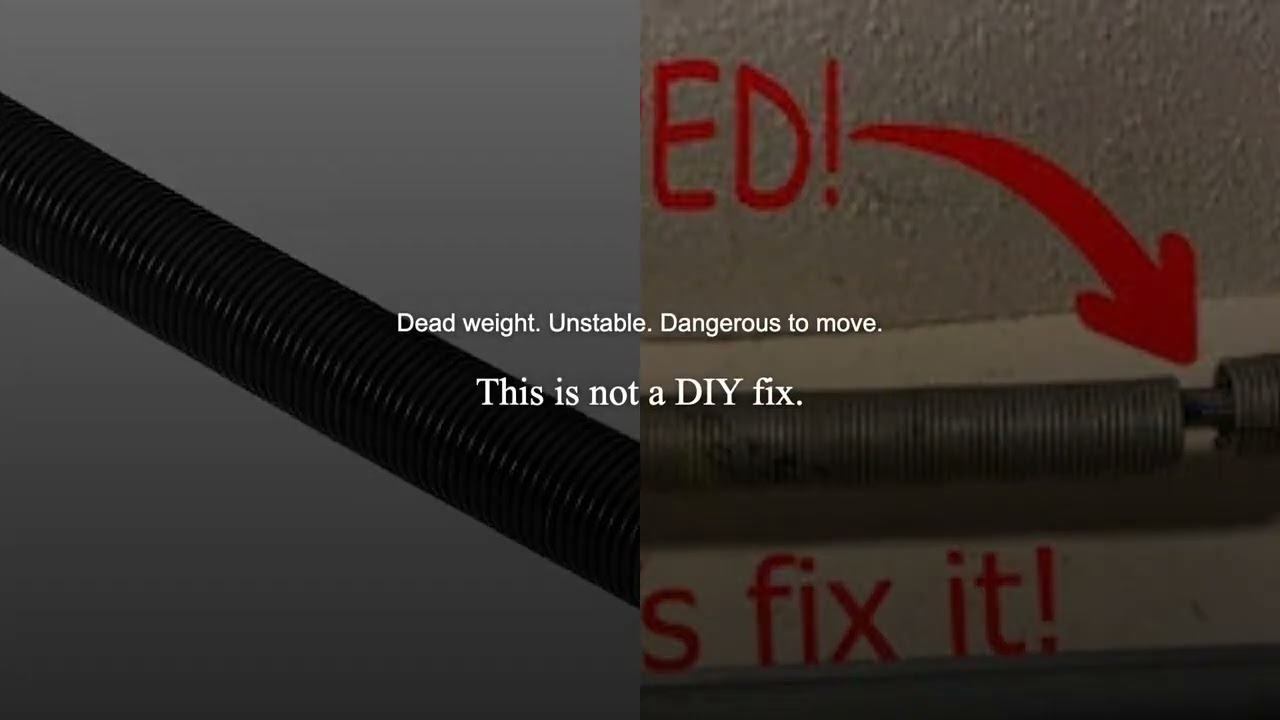
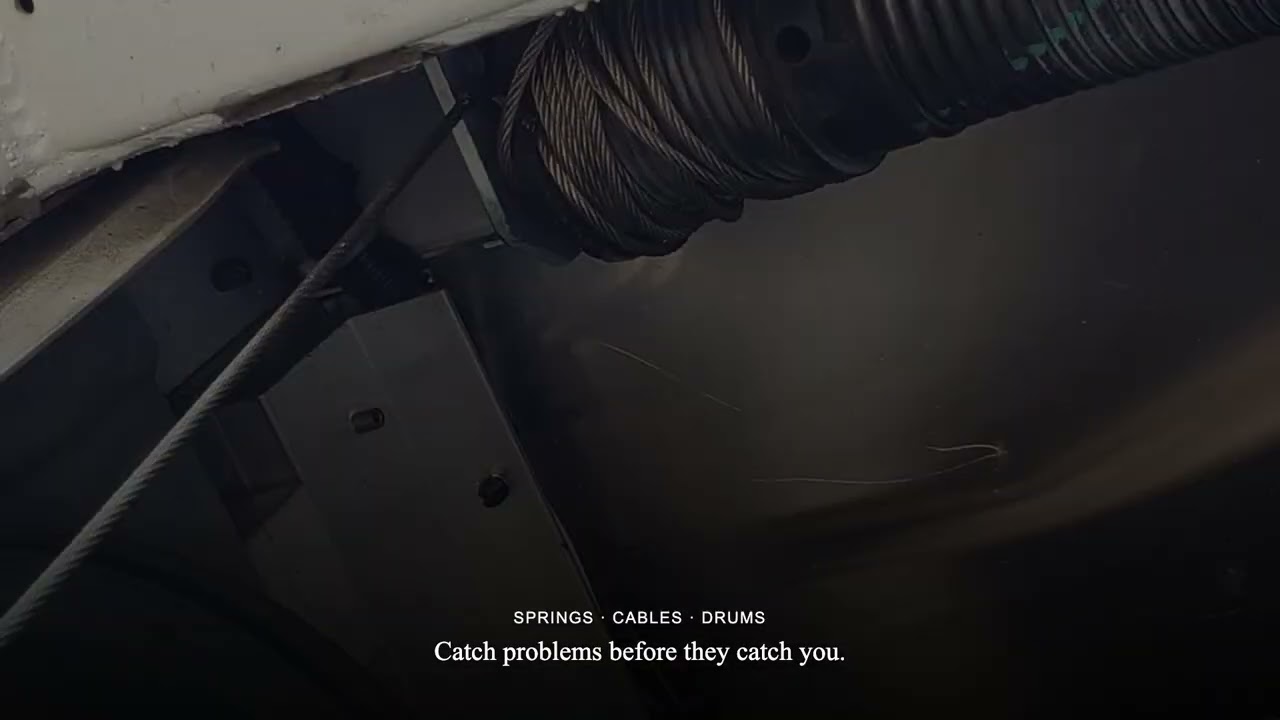
Visual inspection of springs and cables. Stand back and look at the torsion spring above the door — the large coiled spring mounted horizontally along the header beam. You're not looking for anything subtle. You're looking for a visible gap in the coil (a spring that has already broken), rust along the wire, or a center section that looks thinner or discolored. Then look at the cables — the steel wires that run from the bottom bracket at each lower corner of the door up to the drums above. Fraying, kinking, or uneven tension between the two sides are all warning signs. If you see any of them, do not operate the door. Call a pro.
The 3D anatomy lab names every part you're looking at if any of this feels unfamiliar. Spend five minutes there before you do the inspection.
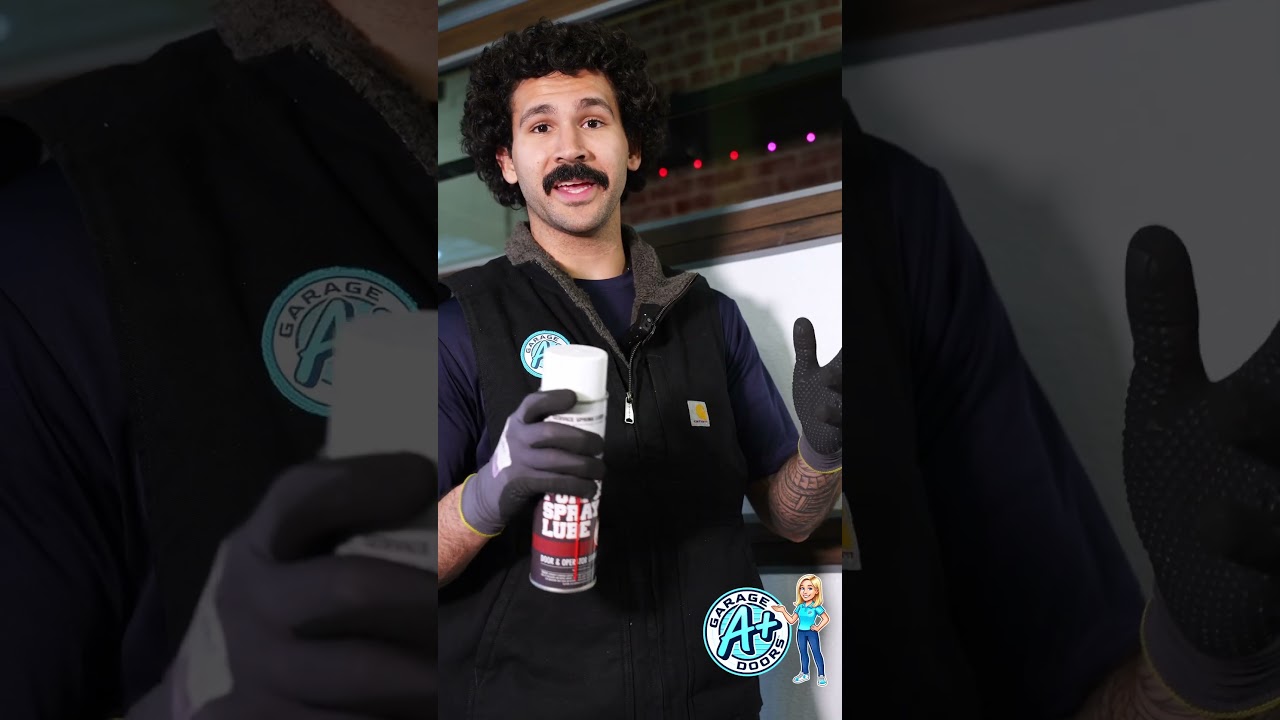
Lubricate the rollers, hinges, and bearings. This is the single most effective thing a homeowner can do to extend a door's service life. Dry metal-on-metal contact is how parts wear out years before they should.
Use a garage-door-specific lubricant — a lithium-based spray or dedicated garage door oil. Apply a small amount to each roller axle, each hinge pivot, and the bearing plates at either end of the torsion spring shaft. Wipe off the excess. A little goes a long way.
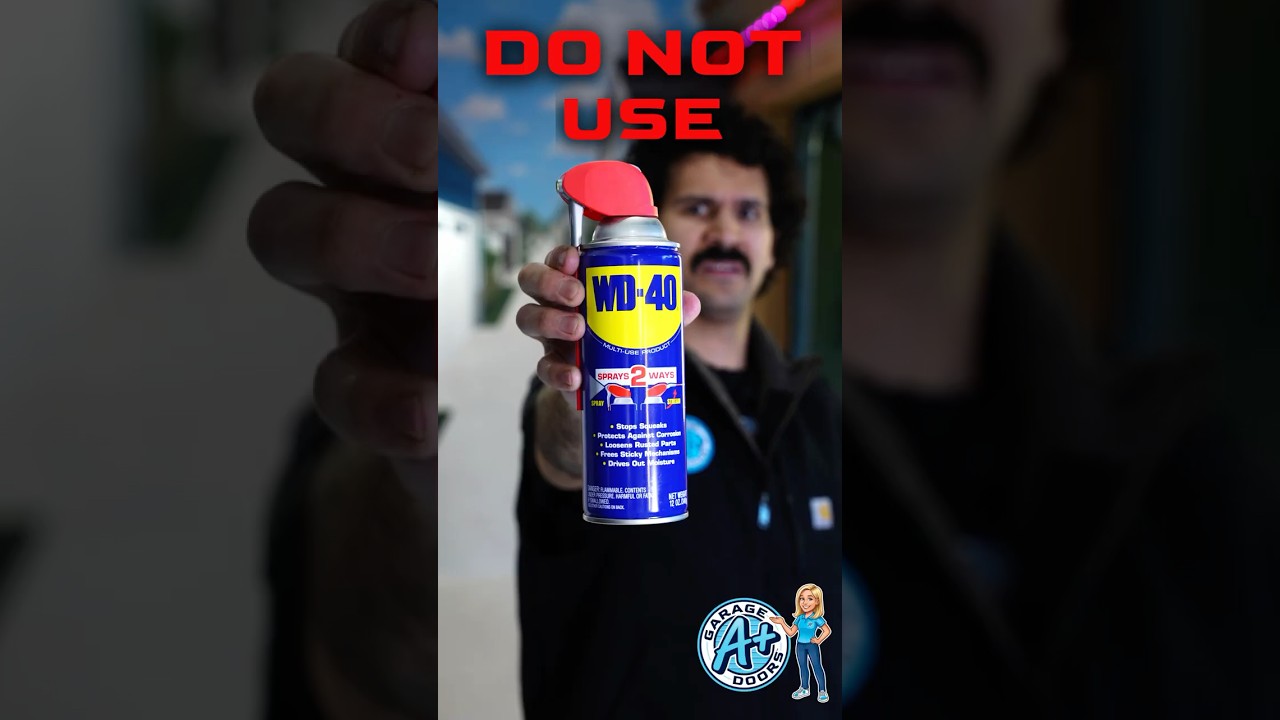
Do not use WD-40. Watch the do-not-use-wd40 video before you reach for the can. WD-40 is a solvent and a water displacer — it will flush out whatever lubrication exists, leaving parts drier than when you started. The quiet garage door in five minutes video shows exactly what proper lubrication looks and sounds like when it's done right.
Tighten accessible hardware. A door cycles hundreds of times a year. The vibration works bolts loose. With a socket wrench, snug up the bolts holding the track brackets to the wall, the hinges connecting the door panels to each other, and the mounting hardware for the opener itself. You're not torquing them down — just firm and snug. If a bolt turns more than a quarter-turn before feeling resistance, that's significant loosening; note it.
Do not touch the lag bolts on the bottom bracket — the metal fitting at the lower corner of the door where the cable attaches. That bracket is under significant cable tension even with the door closed. Leave it alone.
Clean the photo-eye sensors. Your opener's photo-eye sensors sit near the floor on either side of the door opening, pointed at each other across the path of the door. A thin film of garage dust is enough to scatter the beam and cause false-safety reversals. Wipe each lens gently with a dry soft cloth. Check that both indicator lights are solid — blinking usually means misalignment or a dirty lens. The safety systems lab shows how these sensors work and how quickly contamination degrades them.
Clear the tracks. Run a rag along the inside of both vertical tracks. You're removing dirt, hardened grease, and any debris that has worked its way into the path. Do not apply lubricant to the tracks — the rollers are supposed to roll, not slide, and a slick track causes problems.
Test the auto-reverse. Place a flat 2x4 board on the floor in the center of the door opening. Close the door using the wall button or remote. When the door contacts the board, it should reverse within two seconds. If it doesn't — if it stalls, hesitates, or keeps pushing down — the opener's force setting needs adjustment. This is a safety system required by federal law. If it isn't working, stop using the door and fix it. Your opener's manual has the force adjustment procedure; it's usually two dials on the back of the motor unit.
What to leave for a pro — the "alignment and brake inspection" equivalents
A good mechanic doesn't expect you to adjust your own valve timing. The same logic applies here. These tasks involve either stored energy that can hurt you or precision calibration that is easy to get wrong.
Spring tension adjustment. Torsion springs are tensioned by winding them with steel winding bars inserted into the spring cone. The force required is significant, and the consequence of a slip is a broken wrist or worse. Even if you watch every tutorial online, this is not the job. The science of garage door springs lab shows what's actually happening mechanically — enough to understand the stakes. The spring safety video shows what a technician checks before touching one.
Cable replacement. If you saw fraying or kinking during your visual inspection, do not attempt to rewind or replace the cable yourself. The cable runs under tension from the spring through the drum. Releasing that tension without the right tools and sequence is dangerous.
Full balance test and opener force calibration. A technician performs the balance test by disconnecting the opener and lifting the door by hand to waist height, then releasing it. A balanced door stays put. A door that drops or rises has a spring tension problem. The pro then reconnects the opener and adjusts the force and travel limits to match the corrected balance. Getting these out of sequence — adjusting the opener before the balance is right — means the opener compensates for a problem rather than solving it.
Drum inspection. The drums that the cables wind around as the door opens sit on the torsion shaft at each end of the spring. They crack. They corrode. They wear grooves where the cable tracks. This is not visible from the floor; a tech with a ladder and a flashlight checks them as part of a thorough annual service.
The cost of skipping it
Standard torsion springs are rated to 10,000 cycles. At two cycles a day, that's seven years of daily use. A spring installed in 2017 has been approaching its design limit for the past year or two. Micro-fractures in the metal accumulate with every cycle. Cold temperatures make ductile metal more brittle, and the first cold morning of the year finds whatever weakness has been building.
Consider two springs. Same manufacturer, same IPPT rating, installed the same week in the same model of door. Both reach 7,000 cycles around the same time.
One homeowner ran their annual check that September. During the visual inspection, they noticed one coil that looked slightly tighter than its neighbors — subtle, but there. They called a tech. The tech confirmed early fatigue and swapped the full spring set. $180 in parts, a one-hour visit. Nothing broke. Nothing became a story.
The other homeowner skipped the check that year. And the year before. And the year before that. The same spring — same install date, same manufacturer, same IPPT rating — made it to 9,500 cycles before the metal gave up at 2:47 on a Tuesday morning in early December. The bang woke them up. The door was stuck. It was 18 degrees outside and they couldn't get the car out. The emergency call, by the time the full spring-and-cable set was replaced, came to $675.
That is not a story about a good homeowner and a bad homeowner. It is the same homeowner on two different timelines. One of them did a check-in. One of them didn't.
A spring that breaks at 9,500 cycles because nobody looked at it at 7,000 doesn't just need a new spring. It needs a cable check because when a spring breaks under tension the cable takes an unplanned shock load. It may need a drum inspection. It may need opener recalibration because the force settings were tuned to a working spring, not a broken one. A full recovery from a spring failure can run $400 to $800, depending on what else gave way.
A yearly tune-up — the kind where a tech does the balance test, inspects the spring and drums, and adjusts the opener properly — runs $100 to $200. The math is not complicated.
The right time to do it
Late summer is the window — August or September, before the first cold snap arrives.
Here's why the timing matters. Torsion springs are steel under tension. Cold temperatures make steel more brittle. A spring that has been fatiguing quietly all summer — accumulating micro-fractures with every cycle — becomes most vulnerable on the first sub-freezing morning of the year. The coil that would have lasted another few months in moderate temperatures fails at 7 AM in November, when it's 22 degrees and you have somewhere to be. The spring safety video shows what that failure looks like and why it happens so fast when it does.
There's also a practical argument for doing your own DIY checks first, before the pro visit. Run through the homeowner list above: lubrication, bolt-tightening, photo-eye cleaning, auto-reverse test. If something flags — the balance test felt off, the lube didn't quiet the rollers, a cable looks frayed — that becomes the agenda for the pro visit. The tech isn't coming out for a generic once-over; they're coming with a specific punch list. More efficient for both parties.
When the first cold morning hits, every garage door company in the region gets flooded with calls. Appointments move from "tomorrow" to "five days out." A $150 proactive tune-up in September beats a $600 emergency spring replacement in late November, where you also can't park inside for half a week.
When to call a pro without waiting for the annual check
Some things shouldn't wait until next fall:
If the door doesn't move smoothly from start to finish — if there's binding, hesitation, or a wobble mid-travel — something is misaligned or worn. Smooth is the baseline; anything less is a symptom.
If you hear grinding, scraping, or a new kind of bang. You know what your door sounds like. Trust a new sound.
If the door drifts open or closed when you disconnect the opener and lift it to waist height, the spring balance is off. Don't operate the door; call a pro.
If you see uneven gaps at the bottom when the door is closed — higher on one side than the other — the door is either racked (twisted) or the spring is pulling unevenly.
If the opener's LED is blinking in a pattern you don't recognize, count the blinks and look up the error code in the manual. Some codes are minor (limit adjustment needed); some indicate a broken spring sensor or logic board failure. Either way, the code is telling you something.
The annual rhythm
The 24-point inspection tool is the structured version of this checklist. It walks you through exactly what a technician checks on a professional visit — spring visual, cable condition, balance test, hardware integrity, photo-eye function, auto-reverse test. Run it yourself first. Then, if anything flags, you know exactly what to tell the tech when you call. If you want to see what the tool walks through before you run it, here's a quick introduction.
Your car gets a reminder sticker on the windshield. Your garage door doesn't. Set a calendar reminder for September. It takes thirty minutes. And the calls nobody wants to make in January are the ones where the answer starts with "well, when did you last have it serviced?" Garage Door Pros offers a free annual safety inspection that covers every point on this list — spring condition, cable wear, balance, hardware, and photo-eye alignment. If your DIY checks turn up something that needs a professional, A+ Garage Doors provides same-day repair service and can handle everything from spring replacement to full opener calibration.